

Soil compaction is a key step in a wide range of construction projects, and the efficiency of the process relies heavily on the skills and knowledge of the operator. Below are some key tips to help keep your soil compactor running efficiently throughout the day to boost productivity.
Be able to identify the two common types of compacted soils. Soil compactors are used on various materials, but two primary types dominate construction sites:
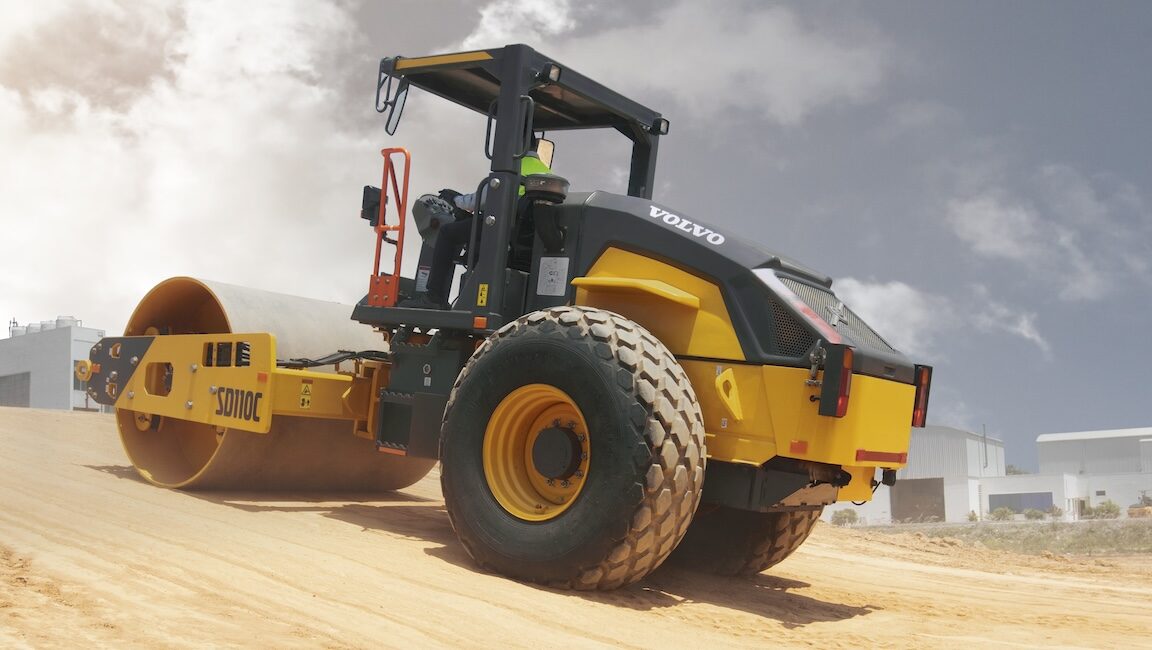
- Granular soils: Sand and gravel are common examples of granular soils. The particles in granular soils are larger and don’t typically stick together. They’re often preferred for construction projects where good drainage and stability are required, such as building foundations and roadbeds. Use a smooth drum for these materials, focusing on achieving proper compaction density without overworking the material and breaking down the aggregates.
- Cohesive soils: The particles in cohesive soils are finer and tend to stick together. Clay and silt fall into this category. Cohesive soils can pose challenges in construction because of their tendency to stick together and their sensitivity to moisture changes. Proper engineering measures, like soil stabilization or dewatering, are often needed when dealing with cohesive soils in construction. A padfoot drum or a padfoot attachment (bolt-on or clamp-on shell) is often necessary to knead and compress these materials effectively.
Understand how the four forces of compaction work. Compaction is essentially the process of removing air voids from the material in order to provide a solid foundation that can reliably carry a load. There are four different forces involved in the compaction process to be familiar with:
- Pressure: This is simply the mass of the machine sitting on the material. Ground pressure can be increased by utilizing a padfoot drum with single points of contact to the ground. Pressure is arguably the least important of the four forces as it provides little compaction compared to the other three forces.
- Kneading: Kneading, also called manipulation, is particularly important to achieve compaction in cohesive materials. Padfoot machines provide significant manipulation as the pads enter and exit the soil — this is why they’re recommended for cohesive materials.
- Impact: In vibratory compactors, the eccentric force is sufficient to lift the drum, and then as the eccentric rotates, pull the drum back down toward the ground. The impact of the drum with the ground helps to create compaction.
- Vibration: Vibration is arguably the most important of the four forces, particularly in granular materials. Vibration creates motion in the particles of material, causing them to settle from the bottom up to eliminate air voids. Vibration is the only one of the four forces that works from the bottom up, enabling compaction of much thicker lifts.
Know how to select the right machine(s) for the job. Different materials and applications may require specific approaches for optimal results. When selecting a compactor for a particular application, the main things you need to consider include:
- Amount of material to be compacted: This helps in selecting the size and quantity of machines required.
- Material type: This helps you determine if you need a smooth drum or padfoot.
- Lift thickness: This is related to the size of machine needed for the job.
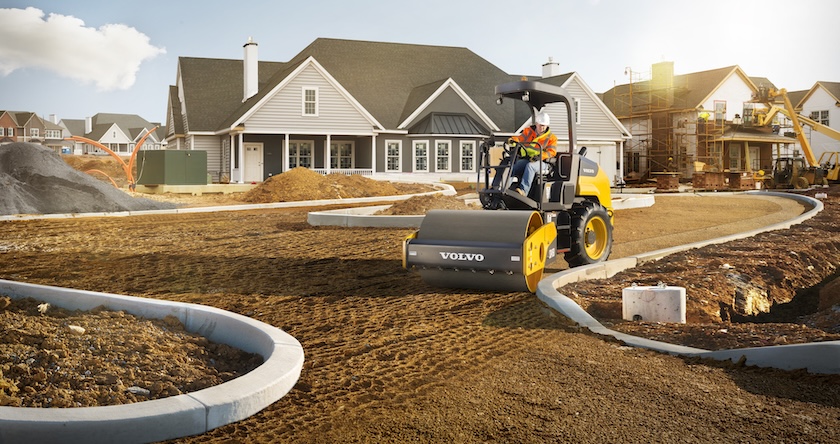
- Drum width: This is especially important for any physical constraints on the jobsite, such as needing a narrow machine for trench compaction or compacting in areas with tight maneuverability.
- Drum type and machine mass: These go hand-in-hand with selecting the best compactor to use on your jobsite. Larger machines are not only wider (fewer passes to cover the same area) but the increased mass enables them to compact thicker lifts, greatly increasing your productivity. Another consideration impacting the size of machine(s) you select could be how many machines can fit on your trailer for transport.
- Gradeability: On some extremely level jobsites, a machine that’s driven only by the axle is sufficient. On higher grades, though, make sure you use a machine that’s driven by both the axel and the drum. At the most extreme grades (logging road maintenance, landfill cell construction, etc.), your machine should also be equipped with a system that helps prevent slipping of the tires or drum, such as a dual-pump system or flow divider.
Once you have the right type of machine selected, you need to know how many machines you’ll need to complete the day’s work. If you know that you’ll need to lay and compact a certain number of cubic yards of material during the day, and you know the rolling width, rolling speed and max lift thickness for the machines you’ll be using, you can then calculate the number of machines needed to complete the work. If you run Volvo compactors and you still have questions, your Nuss Volvo dealer location can always help.
Know when to use padfoot attachments. There are two options when compacting cohesive materials: a bolt-on/clamp-on shell attached to a smooth drum machine or a dedicated padfoot machine. What are the advantages and disadvantages of each?
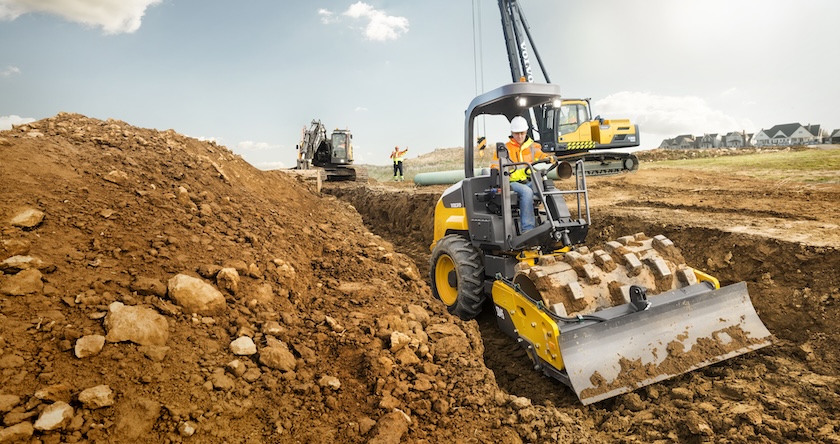
- When to use padfoot attachments: If you find yourself with a mixture of soil types in your region, a bolt-on shell might be your best option. This enables you to have your smooth drum machine on granular materials one day, then by adding the shell kit, transfer that machine to a jobsite with cohesive materials. In this scenario, a single machine can cover all of your soil types — but there are tradeoffs. The eccentric force and drum mass need to be balanced for optimum performance, and on a smooth drum machine, these are balanced for operation in the smooth drum configuration. Adding mass to the drum by adding a padfoot shell kit reduces the amplitude of vibration and results in acceptable (but not optimal) performance.
- When to use a dedicated padfoot machine: If your region consists of mostly cohesive materials, then a dedicated padfoot machine is probably your best option. In the case of a dedicated padfoot machine, the eccentric size and drum mass will already be balanced for optimum performance. Additionally dedicated padfoot machines usually come with an R1 lug-type or “agricultural” tire versus the R3 “diamond” pattern you usually get with smooth drum machines. The lugs on the R1 tire provide for additional kneading of the material which is important when compacting cohesive materials.
INSPECTION TIPS FOR SOIL COMPACTORS
In addition to the operating tips above, there are also some maintenance and inspection tasks you can do to keep your machine running as efficiently and safely as possible.
Always perform a pre-day inspection. Before you kick off your day, a thorough inspection (plus some routine maintenance) can make a big difference in your soil compactor’s performance and longevity.
- Visual inspection: Check for any visible damage, leaks or loose components. Ensure that safety features such as lights and alarms are functional.
- Fluid levels: Regularly check and top off hydraulic fluid, engine oil and coolant to prevent breakdowns.
- Tire pressure: Proper tire pressure is critical for stability and traction. Inspect and adjust it as needed.
- Grease moving parts: Soil compactors work in dusty and sometimes muddy conditions. Keep all moving parts well lubricated to minimize wear and tear.
Complete an end-of-day checklist. Getting off to a good start is essential, but so is a diligent end-of-day routine to keep your soil compactor running as it should.
- Clean the machine: Remove accumulated material from the compactor to make inspections (of hoses running along the front frame, for example) easier. It also makes for a quicker start to the next day.
- Inspect wear parts: Check the condition of wear parts such as the tires, leveling blade (if equipped), scraper bars or teeth, and so on. Plan to repair or replace any components showing excessive signs of wear.
- Refill the tanks: Keep your fuel and DEF tanks full so they’re ready to go the next day — plus, you can reduce any unwanted condensation that may accumulate in the tanks overnight.
SOIL COMPACTOR SAFETY
I wanted to add one final comment related to safety. There’s a lot of advice that can be given here, like reading your operator’s manual and always being aware of your surroundings. But if there’s one safety-related tip I want to emphasize above all others, and it’s to always wear your seatbelt.
Compactors, by nature, operate on soil that’s unstable — they can and do roll over. Oftentimes on jobsites, I’ve seen operators buckle their seatbelt to defeat the interlocks, then sit on top of it while operating the machine. This creates an incredibly dangerous situation if the machine starts to tip and your inclination is to jump. No matter what else you do, always use your seatbelt and return home safely at the end of your shift.
By incorporating all of these soil compaction tips into your daily routine, you’ll not only enhance the efficiency of the compaction process, but also contribute to added jobsite safety and the longevity of your equipment.
By Kevin Luft